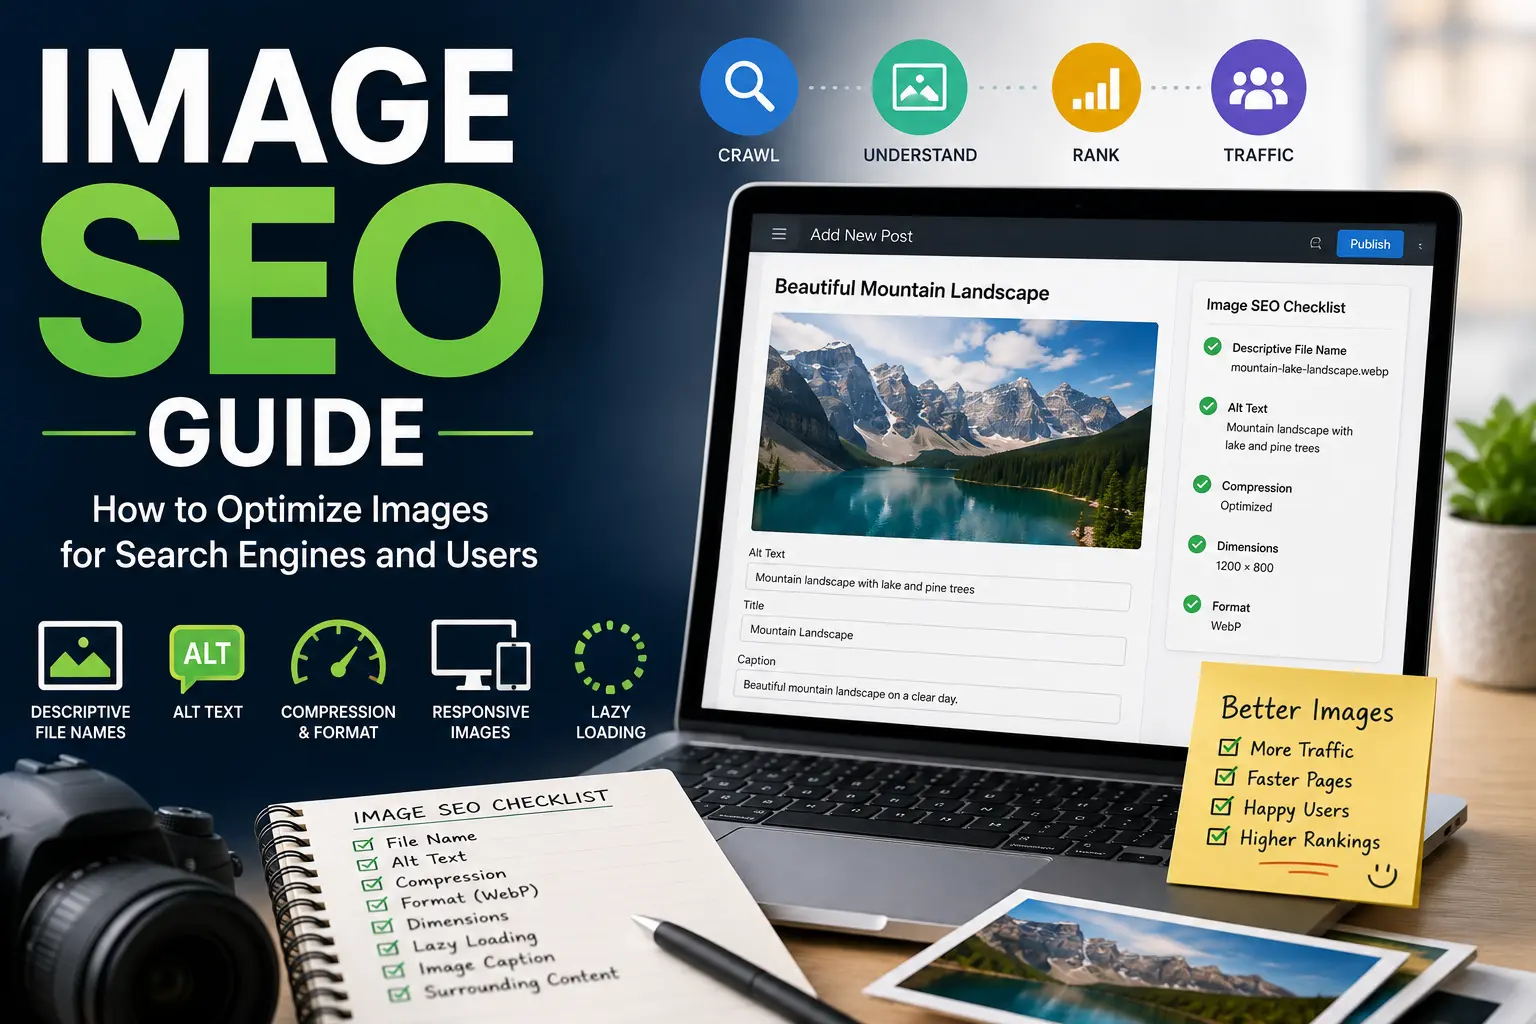
Image SEO is one of those things that sounds tedious until you realize how much of the internet is just pictures. Google Images drives significant traffic for certain niches. Product photos. Recipe shots. Travel photography. Infographics. If your site relies on visuals, image optimization isn't optional.
But even if you don't care about Google Images traffic, image SEO still matters. Images are usually the largest files on your page. Unoptimized images slow down your entire site. Slow sites lose visitors. Slow sites rank slightly worse. Image SEO is as much about performance as it is about search visibility.
The good news is that most image SEO tasks are straightforward. You do them once when you upload an image, or you set up automation to handle them. Let me walk through everything that actually matters.
What Is Image SEO
Image SEO is the process of optimizing images so search engines can understand what they show and browsers can load them efficiently.
It covers several things. How you name your image files. What alt text you write. How you compress and resize images. What format you save them in. How you implement lazy loading. Whether you provide responsive versions for different screen sizes.
Search engines can't see images the way humans do. They rely on text clues. File names. Alt text. Surrounding content. Structured data. These clues tell Google what the image contains and whether it's relevant to a search query.
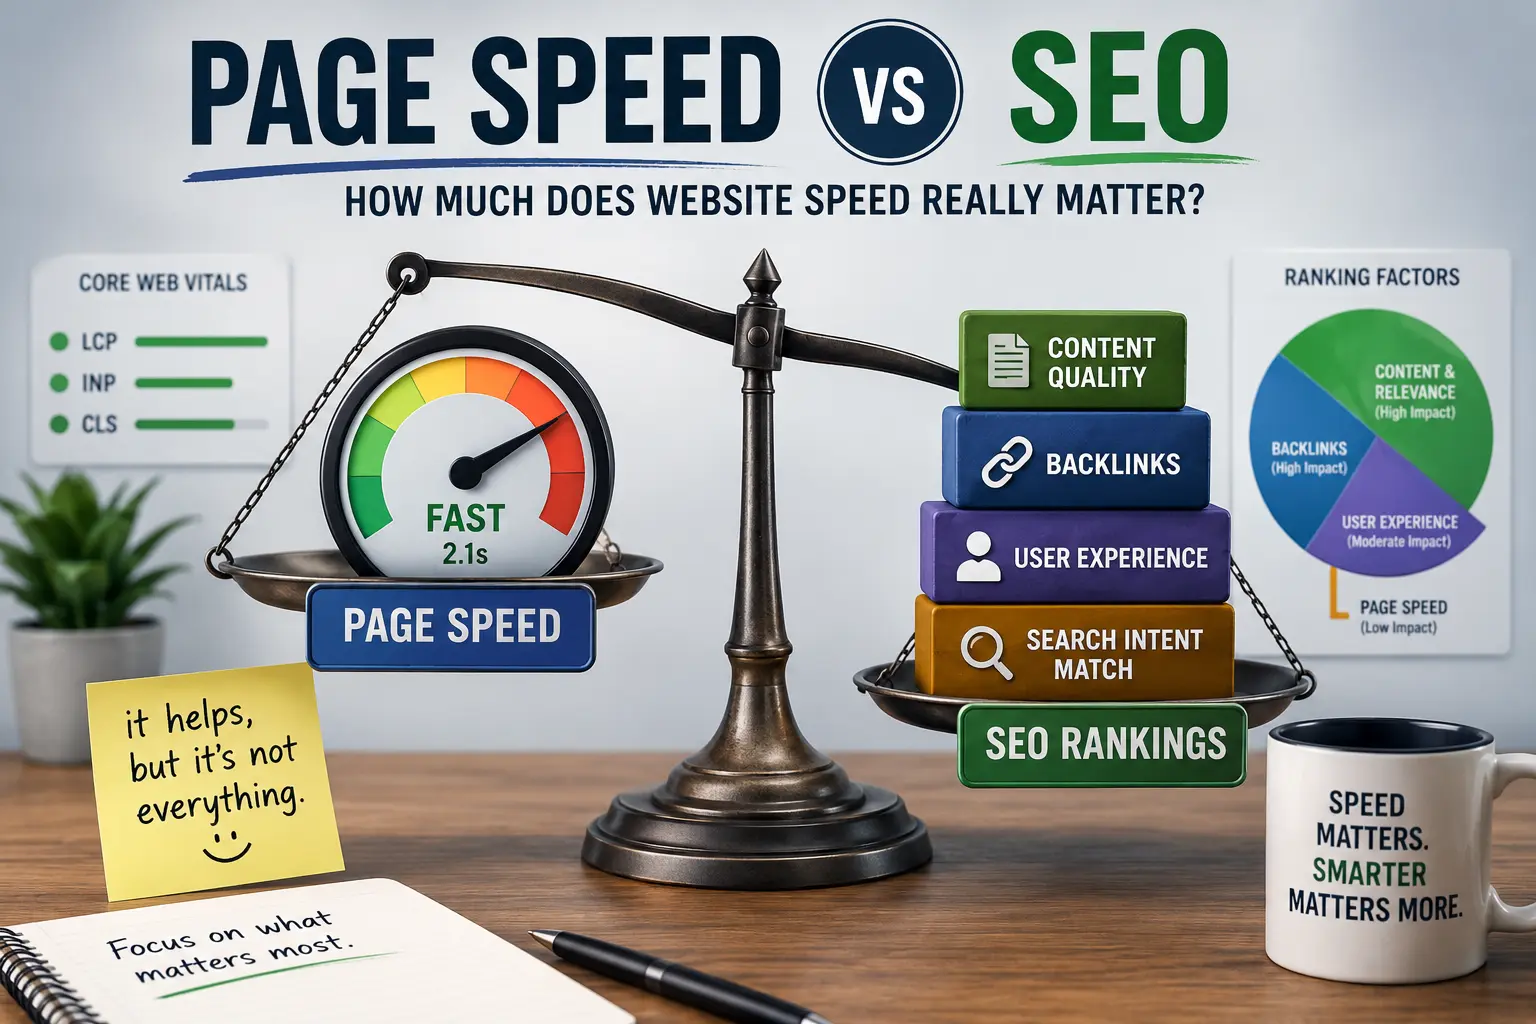
Image SEO also affects page speed. Large, uncompressed images are the most common cause of slow load times. Optimizing images for performance improves Core Web Vitals, especially LCP. A faster page is better for users and slightly better for rankings.
Our Core Web Vitals guide and how to improve LCP guide cover the performance side in detail.
Why Image SEO Matters
There are two separate reasons to care about image SEO. They're both valid.
Google Images traffic. Google Images accounts for a significant portion of overall search traffic. For visual niches like fashion, home decor, travel, and food, image search can drive as much traffic as regular web search. Users click on images. They visit the page. They browse. They convert.
Page speed and Core Web Vitals. Images are usually the heaviest elements on a page. A single unoptimized hero image can be larger than all the text, CSS, and JavaScript combined. Optimizing images improves LCP, which is one of the three Core Web Vitals. Better LCP means better page experience. Better page experience means slightly better rankings and significantly better user retention.
Accessibility. Alt text helps screen readers describe images to visually impaired users. This isn't just an SEO benefit. It's the right thing to do. Writing useful alt text makes your content accessible to people who can't see it.
User experience. Images that load quickly, display correctly, and don't jump around make your site feel professional. The opposite also applies. Slow-loading images, broken images, and layout shifts make your site feel broken.
Our image SEO checklist covers all the steps in a single document if you want something to follow.
How to Choose the Right Image File Name
File names matter more than most people think. Google reads them.
A file named IMG_20240528_143702.jpg tells Google nothing. It's a camera filename. It could be anything. A file named golden-retriever-puppy-playing-in-park.jpg tells Google exactly what the image contains.
Use descriptive file names. Include relevant keywords naturally. Don't stuff keywords. Don't write best-dog-golden-retriever-puppy-cute-dog.jpg. That reads like spam. Write golden-retriever-puppy-playing-grass.jpg. Natural. Descriptive. Useful.
Use hyphens between words. Not underscores. Not spaces. Google treats hyphens as word separators. golden-retriever-puppy.jpg reads as three separate words. golden_retriever_puppy.jpg reads as one long string. Hyphens are better.
Keep file names reasonably short. golden-retriever-puppy.jpg is fine. a-very-cute-golden-retriever-puppy-playing-in-the-park-on-a-sunny-afternoon.jpg is excessive. A few descriptive words is enough.
Rename images before uploading. Don't upload IMG_20240528_143702.jpg and then try to fix it later. Rename the file on your computer. Then upload. Most CMS platforms use the file name as part of the URL and as a default alt text suggestion. Start clean.
How to Write Image Alt Text
Alt text is the most important image SEO element. It tells search engines what the image shows. It helps screen readers describe images to visually impaired users. It appears when an image fails to load.
Good alt text describes the image accurately and concisely. Imagine you're describing the image to someone on the phone. What would you say? That's your alt text.
For a photo of a golden retriever puppy playing with a red ball in a park, good alt text might be "Golden retriever puppy playing with a red ball in a grassy park." It describes what's in the image. It includes relevant keywords naturally. It's a complete thought.
Bad alt text would be "dog" or "puppy" or "golden retriever puppy dog pet animal cute." Too short. Too generic. Or keyword-stuffed nonsense.
Don't stuff keywords into alt text. Google sees this. It looks spammy. Write for humans first. Describe the image. If relevant keywords fit naturally, include them. If they don't, don't force them.
For purely decorative images, use empty alt text. alt="" tells screen readers to skip the image. It's not important content. It's just decoration. Separators. Borders. Background textures. These don't need descriptions.
For images that contain text, include that text in the alt attribute. If the image is a chart with specific data, describe the data. If it's a logo, write the company name. If it's an infographic, summarize the key information. The alt text should convey whatever information the image conveys.
Our on-page SEO checklist covers alt text alongside other page elements.
How to Write Image Captions
Captions are one of the most-read pieces of content on any page. People's eyes are drawn to images, and then to the text directly below them. That makes captions surprisingly valuable.
A good caption adds context that isn't obvious from the image itself. It doesn't just describe what you can already see. It tells you why the image matters. Where it came from. What it means. Context that the alt text and surrounding paragraphs might not convey.
For data visualizations, captions can summarize the key finding. For photographs, captions can identify people, places, or events. For screenshots, captions can explain what the user is looking at and why it's relevant. The caption is the bridge between the image and the rest of the content.
Not every image needs a caption. Decorative images don't. Images that are self-explanatory in context don't. But images that carry meaning benefit from that extra line of text.
Google reads captions. They provide additional context about the image. The text near an image, including captions, helps Google understand what the image shows and whether it's relevant to a query. A well-captioned image is slightly more likely to rank in Google Images than one without context.
How to Compress Images Without Losing Quality
Image compression reduces file size without visibly affecting quality. It's the single most impactful performance optimization for most sites.
Lossless compression removes metadata and optimizes the internal structure of the file. The image looks identical. The file is smaller. Every image should be losslessly compressed before uploading.
Lossy compression reduces file size more aggressively by discarding some visual data. The image looks slightly different. The file is much smaller. Good for large photos where the slight quality loss is imperceptible at normal viewing distances.
The goal is finding the sweet spot. Compress enough to reduce file size significantly. Not so much that the image looks pixelated or blurry. For most web images, you can compress by 60 to 80 percent without anyone noticing.
Our image compressor handles both lossless and lossy compression. Upload an image. Adjust the quality slider. Preview the result. Download when it looks good. No software to install.
For WordPress sites, image optimization plugins handle compression automatically. ShortPixel. Smush. Imagify. They compress images on upload. You set the quality level once. Every image gets optimized going forward.
Don't upload images straight from a camera or stock photo site without compressing them. A stock photo might be 5MB at full resolution. Compressed and resized, it might be 80KB. Same visual appearance. One-sixtieth the file size.
How to Resize Images for the Web
Image dimensions matter as much as file size. An image that's 4000 pixels wide is overkill for a content area that's 800 pixels wide.
Resize images to the actual display size before uploading. If your blog content area is 800 pixels wide, your images should be 800 pixels wide. Not wider. The browser will scale them down anyway. You're just making visitors download pixels they'll never see.
For retina displays, double the dimensions. If your display size is 800 pixels, upload a 1600-pixel-wide image. It looks sharp on high-resolution screens. The file size is larger than 800 pixels but much smaller than the original 4000 pixels.
Use responsive image syntax to serve different sizes to different devices. The srcset attribute lets you specify multiple image sizes. The browser picks the appropriate one based on screen width. Mobile visitors get smaller images. Desktop visitors get larger ones. Everyone gets the right size.
Most CMS platforms handle responsive images automatically. WordPress generates multiple sizes when you upload an image. The srcset attribute is added to image tags automatically in modern themes. You usually don't need to do anything.
If you're coding manually, the srcset attribute looks like srcset="image-800.jpg 800w, image-1600.jpg 1600w". The browser does the rest. It knows its own screen width.
How to Choose the Right Image Format
The format you choose affects both file size and visual quality. Different formats are good for different types of images.
JPEG is best for photographs and images with lots of colors and gradients. It supports lossy compression. File sizes are small. Quality is good. It doesn't support transparency. Every photo on your site should probably be a JPEG or WebP.
PNG is best for images that need transparency or sharp edges. Logos. Icons. Screenshots. Text-heavy images. PNG supports lossless compression. File sizes are larger than JPEG. Quality is perfect. Use PNG when you need crisp edges or transparent backgrounds.
WebP is a modern format that's typically smaller than both JPEG and PNG at the same quality. It supports both lossy and lossless compression. It supports transparency. It's supported by all modern browsers. If you can serve WebP, serve WebP. Our PNG to WebP converter converts images automatically.
AVIF is even newer and even smaller than WebP. Support is growing but not universal. It's the future. WebP is the present. JPEG and PNG are the past. Use WebP as your primary format. Fall back to JPEG or PNG for older browsers.
SVG is for vector graphics. Icons. Logos. Illustrations. SVGs are infinitely scalable. They look sharp at any size. File sizes are tiny. Don't use SVG for photographs. It's the wrong format. Use SVG for graphics that started as vectors.
GIF is mostly obsolete. It supports animation. File sizes are huge. Quality is poor. Use video for animations instead. MP4 files are much smaller. If you need a looping animation without sound, WebP also supports animation. GIF is a last resort.
How to Add Image Dimensions
Width and height attributes prevent layout shifts. When the browser knows how big an image will be, it reserves the space before the image loads. The page doesn't jump when images appear.
Add width and height attributes to every image tag. Use the actual dimensions of the image file. Not the display size. The browser uses these to calculate the aspect ratio. It reserves the correct vertical space even if CSS overrides the display width.
Modern browsers use the width and height attributes to calculate the aspect ratio automatically. Even with max-width: 100% or similar CSS, the browser knows the proportions and reserves space accordingly.
This is the single most effective CLS fix for content sites. Setting image dimensions eliminates the most common source of layout shift. Our how to fix CLS guide covers this in detail.
If you're using WordPress, most modern themes add width and height attributes automatically. Check your page source to confirm. If they're missing, your theme might be stripping them. Some page builders do this. Some lazy loading plugins do this. Check and fix.
How to Implement Lazy Loading
Lazy loading delays image loading until the image is about to enter the viewport. Images at the top of the page load immediately. Images further down load when the user scrolls near them.
The simplest implementation is loading="lazy" on image tags. It's supported by all modern browsers. No JavaScript required. Add it to images below the fold. Don't add it to the hero image. The hero image is your LCP element and needs to load immediately.
WordPress adds loading="lazy" automatically to images in recent versions. Plugins like WP Rocket and Perfmatters give you more control. You can exclude specific images. You can adjust when lazy loading triggers.
Don't lazy load the LCP image. This is the most common lazy loading mistake. The hero image at the top of the page should load eagerly. Lazy loading it delays the largest contentful paint. The page feels slower.
If you're using a lazy loading plugin, check whether it's applying lazy loading to every image on the page. Some plugins do this by default. Exclude the hero image. One setting change. Real performance improvement.
How to Use Image Structured Data
Schema markup helps Google understand your images in specific contexts.
Product images benefit from product schema. When you add product schema to a product page, include the product image. Google can display it in product rich results. A product listing with a photo stands out more than one without.
Recipe images benefit from recipe schema. Include the recipe photo. Google shows recipe images in recipe carousels and rich results. A good photo dramatically increases click-through rates.
Article images benefit from article schema. Include the featured image. Google can display it in article carousels and Top Stories. The image makes the listing more visually prominent.
For general image SEO, Google extracts image information from standard HTML. Alt text. Surrounding text. Page title. Structured data isn't required for Google Images. It's required for specific rich result features that include images.
Our what is schema markup guide covers structured data implementation.
How to Optimize for Google Images
Google Images has its own search engine with its own algorithms. Optimizing for image search is slightly different from optimizing for web search.
Image relevance comes from page context. Google looks at the page title, headings, and surrounding text to understand what an image is about. Google often uses the page title and nearby heading when deciding whether an image is relevant to a query. An image of a chocolate cake on a page about baking recipes ranks for chocolate cake. The same image on a page about photography gear might not.
Image quality matters for image search. Google prefers high-resolution images that look good at larger sizes. Blurry, pixelated images don't rank well. Use appropriately sized images. Don't upload tiny thumbnails.
Image placement on the page matters. Images near the top of the page, near relevant text, and visually prominent are considered more important. An image buried at the bottom of a long page is less likely to rank.
Surrounding text provides context. Captions. Nearby paragraphs. Headings. The text around the image helps Google understand what the image shows. Use descriptive captions where appropriate.
Image sitemaps can help Google discover your images. An image sitemap lists all your images with their URLs and captions. Most sites don't need one. If your images are loaded via JavaScript or in galleries that are hard to discover, an image sitemap helps.
Common Image SEO Mistakes
I've made most of these. You'll probably make a few too.
Uploading images without compressing them. A photo straight from a camera can be 5MB or more. That single image is larger than the rest of your page combined. Compress everything before uploading.
Using meaningless file names. IMG_20240528_143702.jpg tells Google nothing. DSC0001.jpg tells Google nothing. Rename your files descriptively.
Writing alt text for search engines instead of humans. best-dog-golden-retriever-puppy-cute-dog.jpg is keyword stuffing. It reads terribly. Write alt text that describes the image. If keywords fit naturally, include them.
Leaving alt text empty for meaningful images. Every image that conveys information needs alt text. If the image is content, describe it. Empty alt text is only for decorative images.
Using the wrong image format. Photographs as PNG files are unnecessarily large. Logos as JPEG files look fuzzy. Use the right format for each image type. WebP for photos. PNG for graphics with transparency. SVG for vector art.
Not setting image dimensions. Missing width and height attributes cause layout shifts. The page jumps while loading. It looks unprofessional. It hurts CLS. Add dimensions to every image.
Lazy loading the hero image. The most important image on the page loads last. The page feels slow. LCP suffers. Don't lazy load the LCP image.
Serving the same image size to all devices. Mobile visitors download desktop-sized images on slow connections. Use responsive images to serve appropriate sizes.
How to Audit Your Image SEO
You can't fix what you don't know is broken. Regular audits catch problems.
Check your page source. Look at a few image tags. Are the file names descriptive? Is alt text present and useful? Are width and height attributes set? Is lazy loading applied correctly? A quick manual check catches obvious issues.
Use PageSpeed Insights to find performance problems. The Opportunities section flags images that need compression or resizing. It tells you exactly which images are too large and how much you could save.
Use Google Search Console to see how your images perform. The Search results report shows image search clicks and impressions. The Enhancements section shows structured data issues that might affect image display.
Our free SEO checker scans for image SEO issues alongside other problems.
Spot-check a few pages manually. Search for one of your images on Google Images. Does it appear? Does the surrounding context make sense? Is it ranking where you'd expect? Manual checks catch issues that automated tools miss.
Image SEO sits at the intersection of performance and search visibility. The same optimizations that make your pages load faster also help your images rank in Google Images. You're solving two problems with one set of fixes.
Start with the basics. Rename your files descriptively. Write useful alt text. Write captions where they add context. Compress everything. Resize to display dimensions. Use WebP. These six things cover most of image SEO. They're not complicated. They're just easy to skip when you're focused on writing content.
Set up automation where you can. Image compression plugins. Responsive image generation. Lazy loading. The less you have to think about image optimization manually, the more consistently it gets done.
Then move on. Image SEO is important. It's not the most important thing on your site. Good images make good content better. They don't replace good content. Optimize your images. Then go write something worth reading. The images will be there, loading fast and looking sharp, when your visitors arrive.